Progress Photo Tips: Document Your Transformation
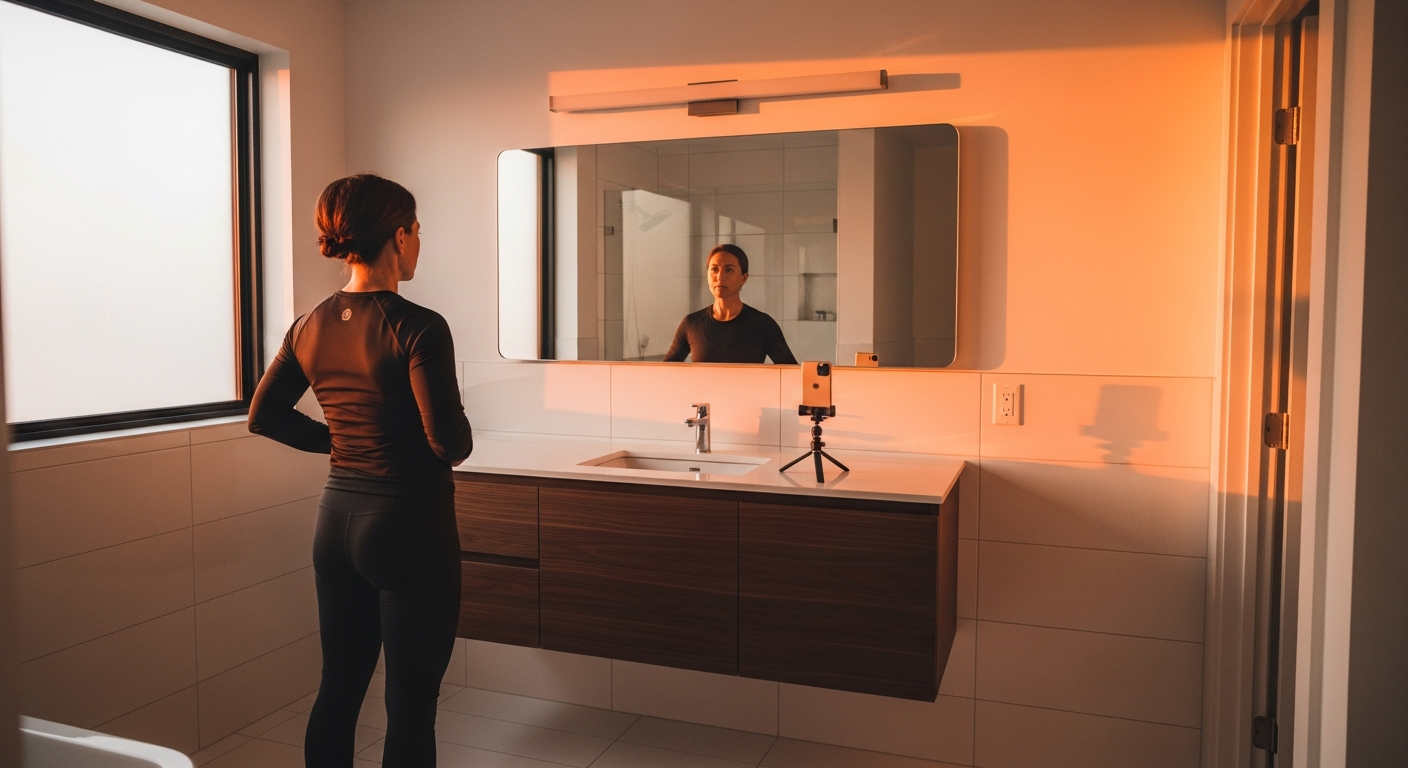
On Day 1 of my first 60 Sharp, I snapped a quick progress photo in my bathroom. Bad lighting. Hunched posture. Phone covering half my face in the mirror.
On Day 60, I took another photo. Different location. Different time of day. Different pose.
The photos were useless for comparison.
Here's how to take progress photos that actually document your transformation—and why it matters more than you think.
Why Progress Photos Matter
Your eyes lie to you.
You look at yourself in the mirror every day. The changes are so gradual that you don't notice them. This is called change blindness—your brain normalizes slow transformations.
On Day 45 of 60 Sharp, I felt like nothing had changed. My clothes fit better, but I thought I was imagining it. My wife said I looked different, but I didn't see it.
Then I compared Day 1 to Day 45 photos. The difference was shocking. Visible muscle definition. Reduced belly fat. Better posture. Changes I was blind to in the mirror.
Progress photos bypass change blindness. They show you the truth.
The Cardinal Rule: Consistency
The only thing that matters for useful progress photos is consistency.
Same lighting. Same location. Same time of day. Same pose. Same distance from camera.
When any of these variables change, your comparison becomes worthless. Good lighting makes anyone look better. A different pose hides or reveals different features.
Control the variables. Document the change.
Lighting: The Game Changer
Lighting affects photos more than any other factor.
Best Lighting
- Natural window light, indirect: Stand near a large window with daylight coming in. Not direct sunlight (creates harsh shadows), but bright indirect light.
- Morning light: Consistent daily. Wake up, take photo, same conditions every time.
- Overhead bathroom lighting: Harsh but consistent. If you use it Day 1, use it every time.
Worst Lighting
- Direct sunlight: Creates dramatic shadows that change throughout the day
- Overhead gym lighting: Unflattering and inconsistent
- Evening lamp light: Too warm, hides definition
- Flash photography: Flattens everything, inconsistent
Pro tip: Take your Day 1 photo immediately after deciding to start. Find the spot with best lighting in your home. Take all future photos in that exact spot.
Location Marking
To ensure you stand in the exact same spot:
- 1.Find your photo location (bathroom, bedroom, wherever)
- 2.Put a small piece of tape on the floor where you stand
- 3.Put another mark where you aim your phone/camera
- 4.Same setup. Every time.
I use blue painter's tape. It doesn't damage floors and stays visible for months.
The Standard Poses
Take two photos each session:
Front View (Required)
- Stand naturally, feet shoulder-width apart
- Arms at sides, palms facing thighs
- Look straight ahead
- Relax your stomach (don't suck in, don't push out)
- Neutral expression
Side View (Recommended)
- Turn 90 degrees
- Same arm position
- Look straight ahead
- Captures posture changes
Don't pose. Don't flex. Don't suck in. The point is tracking honest changes, not creating flattering photos.
Timing: When to Take Photos
Best Practice
- Same time each day (or each week)
- Mornings work best (before eating, consistent conditions)
- After using the bathroom
- Before your workout
100 Sharp Built-In
The 100 Sharp app prompts for progress photos during check-in. Front view is required. Side view is optional but recommended.
I take photos every check-in (daily). Most people prefer weekly—that's enough to see changes without photo fatigue.
Camera Setup
Phone on Tripod (Best)
- Cheap phone tripods work fine ($15-20)
- Same angle every time
- Use timer or voice activation
- Hands-free = consistent arm position
Mirror Selfie (Acceptable)
- Position phone at chest height
- Keep phone in same position
- Your arm will be in the photo (that's okay)
- Be consistent with which hand holds the phone
Someone Else Takes It (Tricky)
- Hard to get consistent framing
- Only works if same person, same approach each time
- Usually not recommended
Clothing Consistency
Wear the same thing in every progress photo.
Good Options
- Athletic shorts/compression shorts for men
- Sports bra and shorts for women
- Underwear (most accurate, but privacy concerns)
What to Avoid
- Different clothes each time
- Loose clothing that hides changes
- Full clothing that obscures body composition
The goal is seeing your body, not your outfit. Less clothing = more visible progress.
Privacy and Security
Progress photos are personal. Here's how 100 Sharp protects them:
In-App Privacy
- Photos are stored privately in your account
- Signed URLs prevent unauthorized access
- Photos are never shared publicly without consent
- You can delete any photo at any time
AI Photo Enhancement (Optional)
100 Sharp offers AI-powered photo enhancement that:
- Blurs your face automatically
- Adds background blur (bokeh effect)
- Centers the subject
- Preserves body composition visibility
This lets you share photos publicly (on your public profile or social media) without showing your face.
Personal Security
- Don't take photos in locations with identifying details
- Consider a plain wall as backdrop
- Be aware of mirrors that might show private info
Before/After Comparison Tips
At Day 30 and Day 60, you'll want to compare:
Side-by-Side View
- Open Day 1 and current photo together
- Check that lighting and pose match
- Look for specific changes:
- Shoulder definition
- Belly fat reduction
- Arm size/definition
- Face shape
- Posture improvements
What to Look For
- Shape changes matter more than scale weight
- Muscle definition (lines visible where there were none)
- Posture improvement (shoulders back, less slouch)
- Face changes (jaw definition, reduced puffiness)
The Non-Scale Victory
The scale might say you've lost 5 lbs. But if you've gained 3 lbs of muscle and lost 8 lbs of fat, you've actually made a bigger transformation than someone who lost 10 lbs of muscle and fat together.
Photos show body composition. Scale shows weight. Photos are more useful for most people.
Photo Schedule Recommendation
| Day | Photo Type |
|---|---|
| Day 1 | Front + Side (baseline) |
| Day 7 | Front |
| Day 14 | Front + Side |
| Day 21 | Front |
| Day 30 | Front + Side (midpoint) |
| Day 37 | Front |
| Day 44 | Front + Side |
| Day 51 | Front |
| Day 60 | Front + Side (final) |
This gives you 9 data points with 4 full front+side comparisons.
Common Mistakes
1. Forgetting Day 1
Take your baseline photo BEFORE you start. You can't recreate it later. This is the most important photo of the entire challenge.
2. Flexing or Posing
Flexing creates inconsistency. Your Day 30 flex looks different from Day 60 flex based on energy levels, pump from workout, etc. Stay neutral.
3. Different Times of Day
Morning photos show different water retention than evening photos. Pick one time and stick to it.
4. Skipping When You Feel Bad
Some days you'll feel like you look worse than yesterday. Take the photo anyway. Progress isn't linear, and these "bad" photos often become the best comparisons later.
5. Not Backing Up
Your phone could break. Sync photos to cloud storage. 100 Sharp stores your photos securely, but having your own backup is smart.
The Transformation Montage
After completing 60 Sharp, you have 9+ photos documenting 60 days.
Create a transformation montage:
- 1.Arrange photos chronologically
- 2.Create a grid or slideshow
- 3.Watch your transformation unfold
This becomes powerful motivation for:
- Your next challenge (60 Sharp → 100 Sharp)
- Others considering the challenge
- Your own reminder on hard days
Sharing Your Story
If you complete 60 Sharp or 100 Sharp, your transformation photos become inspiration for others.
Options:
- Share on your public 100 Sharp profile
- Post on social media (use AI enhancement for privacy)
- Keep private as personal proof
You earned those results. Whether you share them or not, you'll have documentation of what you accomplished.
Conclusion
Progress photos are the most underrated tool in any transformation challenge.
The rules:
- 1.Take Day 1 photo before you start
- 2.Same location, lighting, time, pose—every time
- 3.Don't flex or suck in
- 4.Store securely
- 5.Compare at milestones
In 60 days, you'll be shocked by the difference. Not because the mirror changed—but because you finally have proof of what your brain couldn't see.
That proof is powerful. Take the photos.
Ready to document your transformation? Start 60 Sharp
Built-in progress photo tracking. See features